A while ago I had to create a Flask application and was a bit stuck on how to deploy it to Azure App Service. I thought it would be difficult with a bunch of code being needed to be changed prior to deployment, but it ended up being incredibly easy – I just missed a few critical steps near the beginning which required me having to deploy it a bunch of times. I’ve written this guide to make it a bit easier for any other newbies.
I’ve created a demo application which you can download from my GitHub page (If you do not have Flask installed do pip install flask in a command prompt)
Required changes to your Flask application
There is only 2 requirements which you need to make to your Flask Applications, and you may have already met these requirements if you have followed best practices when creating the application.
Your main application must be in the root directory, called ‘app.py’
You must have a ‘requirements.txt’ file which contains any needed python modules, for this Flask application you just need ‘flask’. You need these so that Azure App Service knows which Python modules need to be installed.
Creating your application from VS Code
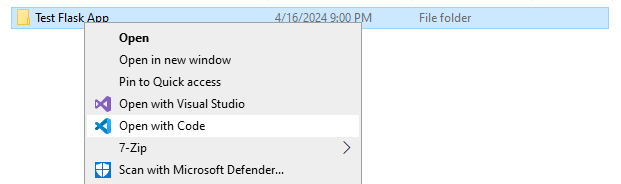
Once your application is ready, from file explorer right click the application and click ‘Open with code’
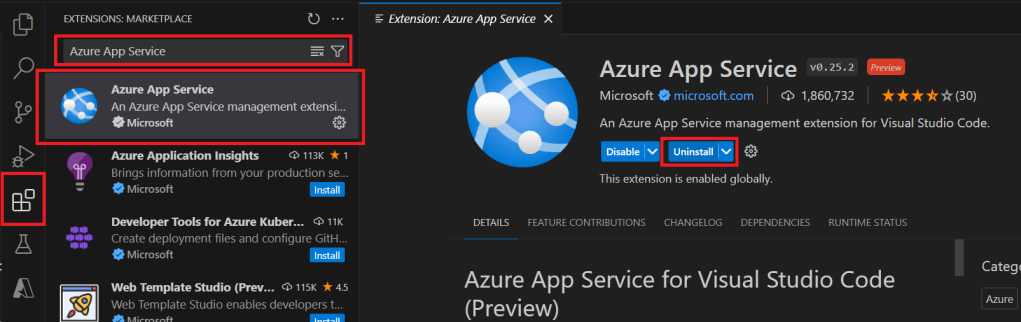
Once Visual Studio Code is open, you will first need to install the Azure App Service extension to your Visual Studio Code instance. To do this, click the extensions icon on the left hand menu, type ‘Azure App Service’ and click on Azure App Service by Microsoft. Then click ‘Install’
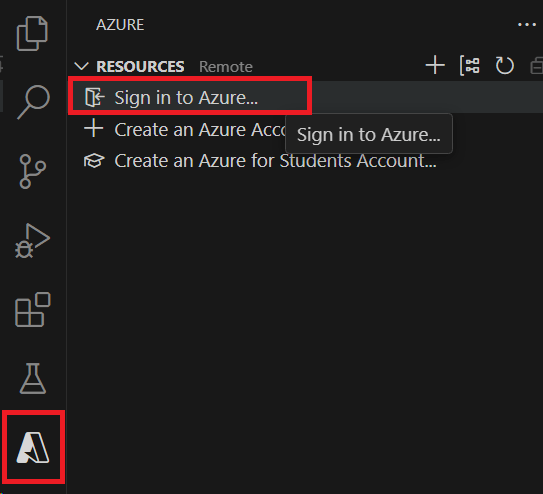
Once installed, you should see an Azure icon pop up on the left hand panel, click on this and click ‘Sign in to Azure’
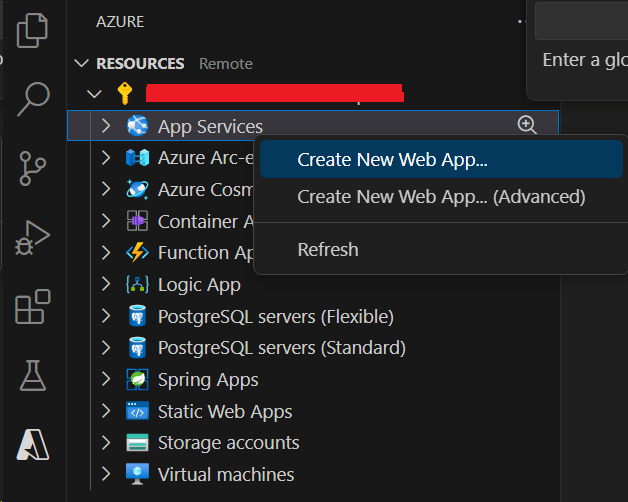
Once signed in, you should be able to see your subscriptions in VS Code. Right-click on App Services > Create new Web App
Enter a globally unique name for your application (This will be in the URL for the site)

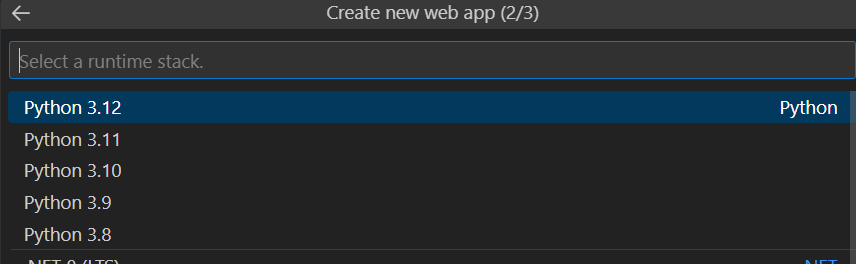
Select Python 3.12 as the runtime stack
Select which pricing tier to use, for this application I will use the free tier.

Once created, click the ‘Deploy to web app’ button, and select the current directory. Please note: No authentication will be required to visit the website, you can configure Entra ID authentication by following this documentation

Now you wait for the application to deploy, this should take 5 – 10 minutes. Once done, click the ‘Browse website’ button. (It still might take an additional few minutes to load)

If you have configured authentication into your application, it will first redirect to login.microsoftonline.com before going to your application.
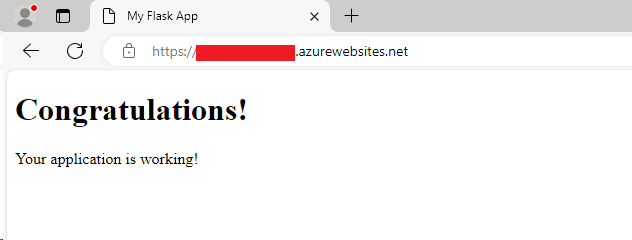
Hopefully, you should see a page like this.
Conclusion
Deploying a Flask app is really quick and easy, and you can do it without going into Azure. I’d highly recommend reading Microsoft’s documentation on Azure App Service in order to configure availability, security and more. If you were just testing out Azure App Service and no longer need the web application go to portal.azure.com and delete the resources associated with the App Service, as we deployed this through VS Code it should have created it’s own resource group, so you can just delete that.

Leave a comment